
Hi, and welcome to LinuxPhoto, my new blog dedicated to showcasing my photography edited in the Linux operating system! A proper About post or page will be coming soon.
As I write this post, I have been home for just a hair over an hour. But, in this time, I have already imported and edited five photos that I took on the shore of Lake Minnetonka in Excelsior, Minnesota, today. The whole process was extremely intuitive, and I believe that anyone comfortable importing and editing photos in Windows or Mac could do the same in Linux.
By the way, I’m running Ubuntu 16.04, which is the previous LTS version of the operating system. Ubuntu 18.04 LTS was released in April 2018, but those who are planning on upgrading through Software Updater will have to wait until July 2018, when Ubuntu releases the first update to 18.04. I installed Ubuntu on March 13, 2018, immediately after receiving a new Dell Latitude laptop.
I’ll start by showing how I imported the photos from my 2016 Nikon D3300 DSLR to my Linux laptop.

I was going to manually transfer the photos from the Nikon D3300 to a folder in my Pictures folder, but then I remembered I had a photography management application that came installed with Ubuntu, since I opted to have a suite of applications installed concurrently with the operating system. This application, it turns out, is called Shotwell, and it runs just as you’d expect a small application of this sort to run. I first connected my D3300 to my laptop; next, I opened Shotwell; finally, I selected my camera from the left pane and clicked Import All. The six files imported within seconds. It even imported the photos the same way I’d have done it myself: by saving in Pictures/year/month/day/file.
After importing the photos, I downloaded GIMP Image Editor from the Ubuntu Software application. Ubuntu makes downloading software extremely easy. In fact, it’s probably even easier than installing software on Windows, since the only thing one has to do is find the application in the Ubuntu Software application and then click Install. GIMP was up and running within minutes. GIMP, it should be noted, is the open source equivalent of Adobe Photoshop (though it should also be noted it is not nearly as advanced).
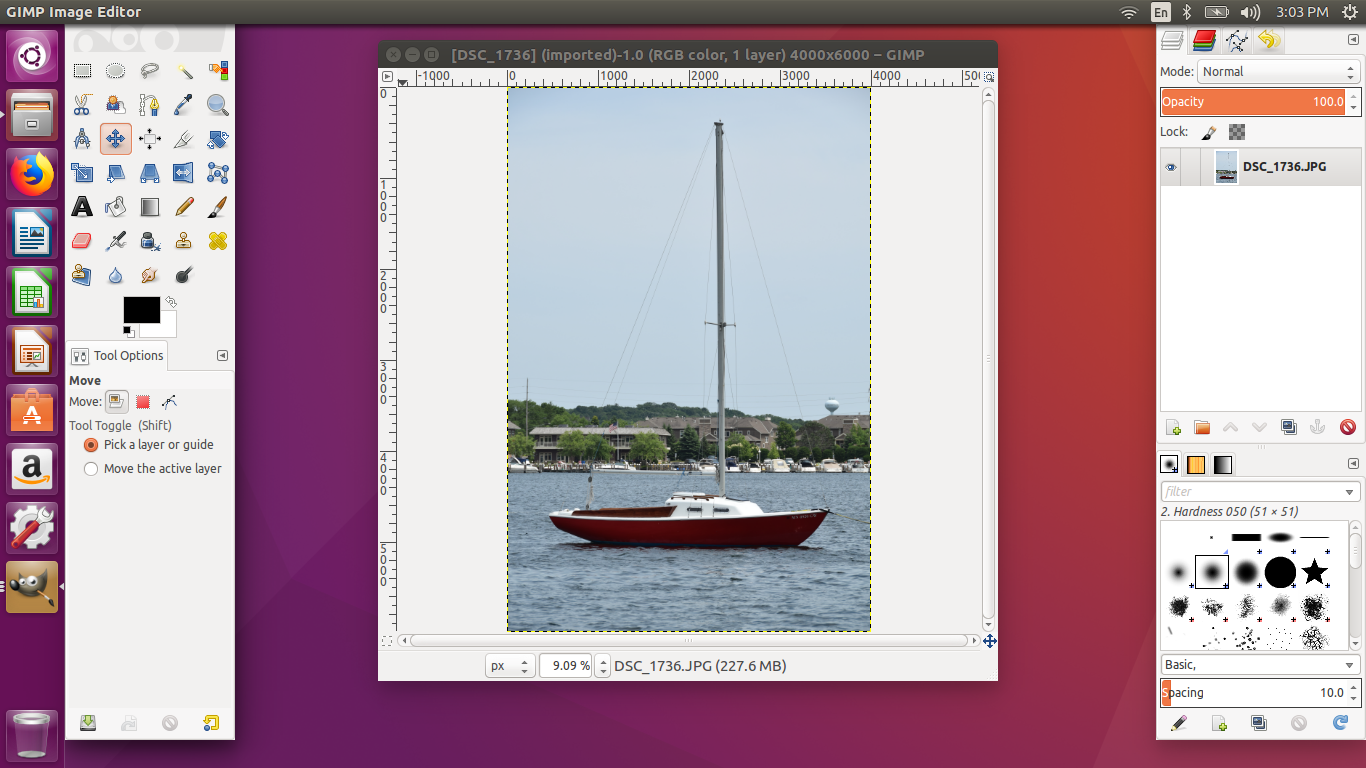
My photo editing workflow was quite simple. I first scaled the photo to a max dimension of 2048 pixels (chosen because this dimension, 2^11, is what Facebook decided on for their user-uploaded photos). I then exported the photo as a JPEG with the Quality slider dialed down to 90. This put all my photos in the 225.6 kB to 957.9 kB range. I do, of course, keep the original JPEGs (Large, Fine); the edited photos are merely for Web usage, as these are the photos I upload to this blog.
Now, without further ado, here are the five photos I took today.

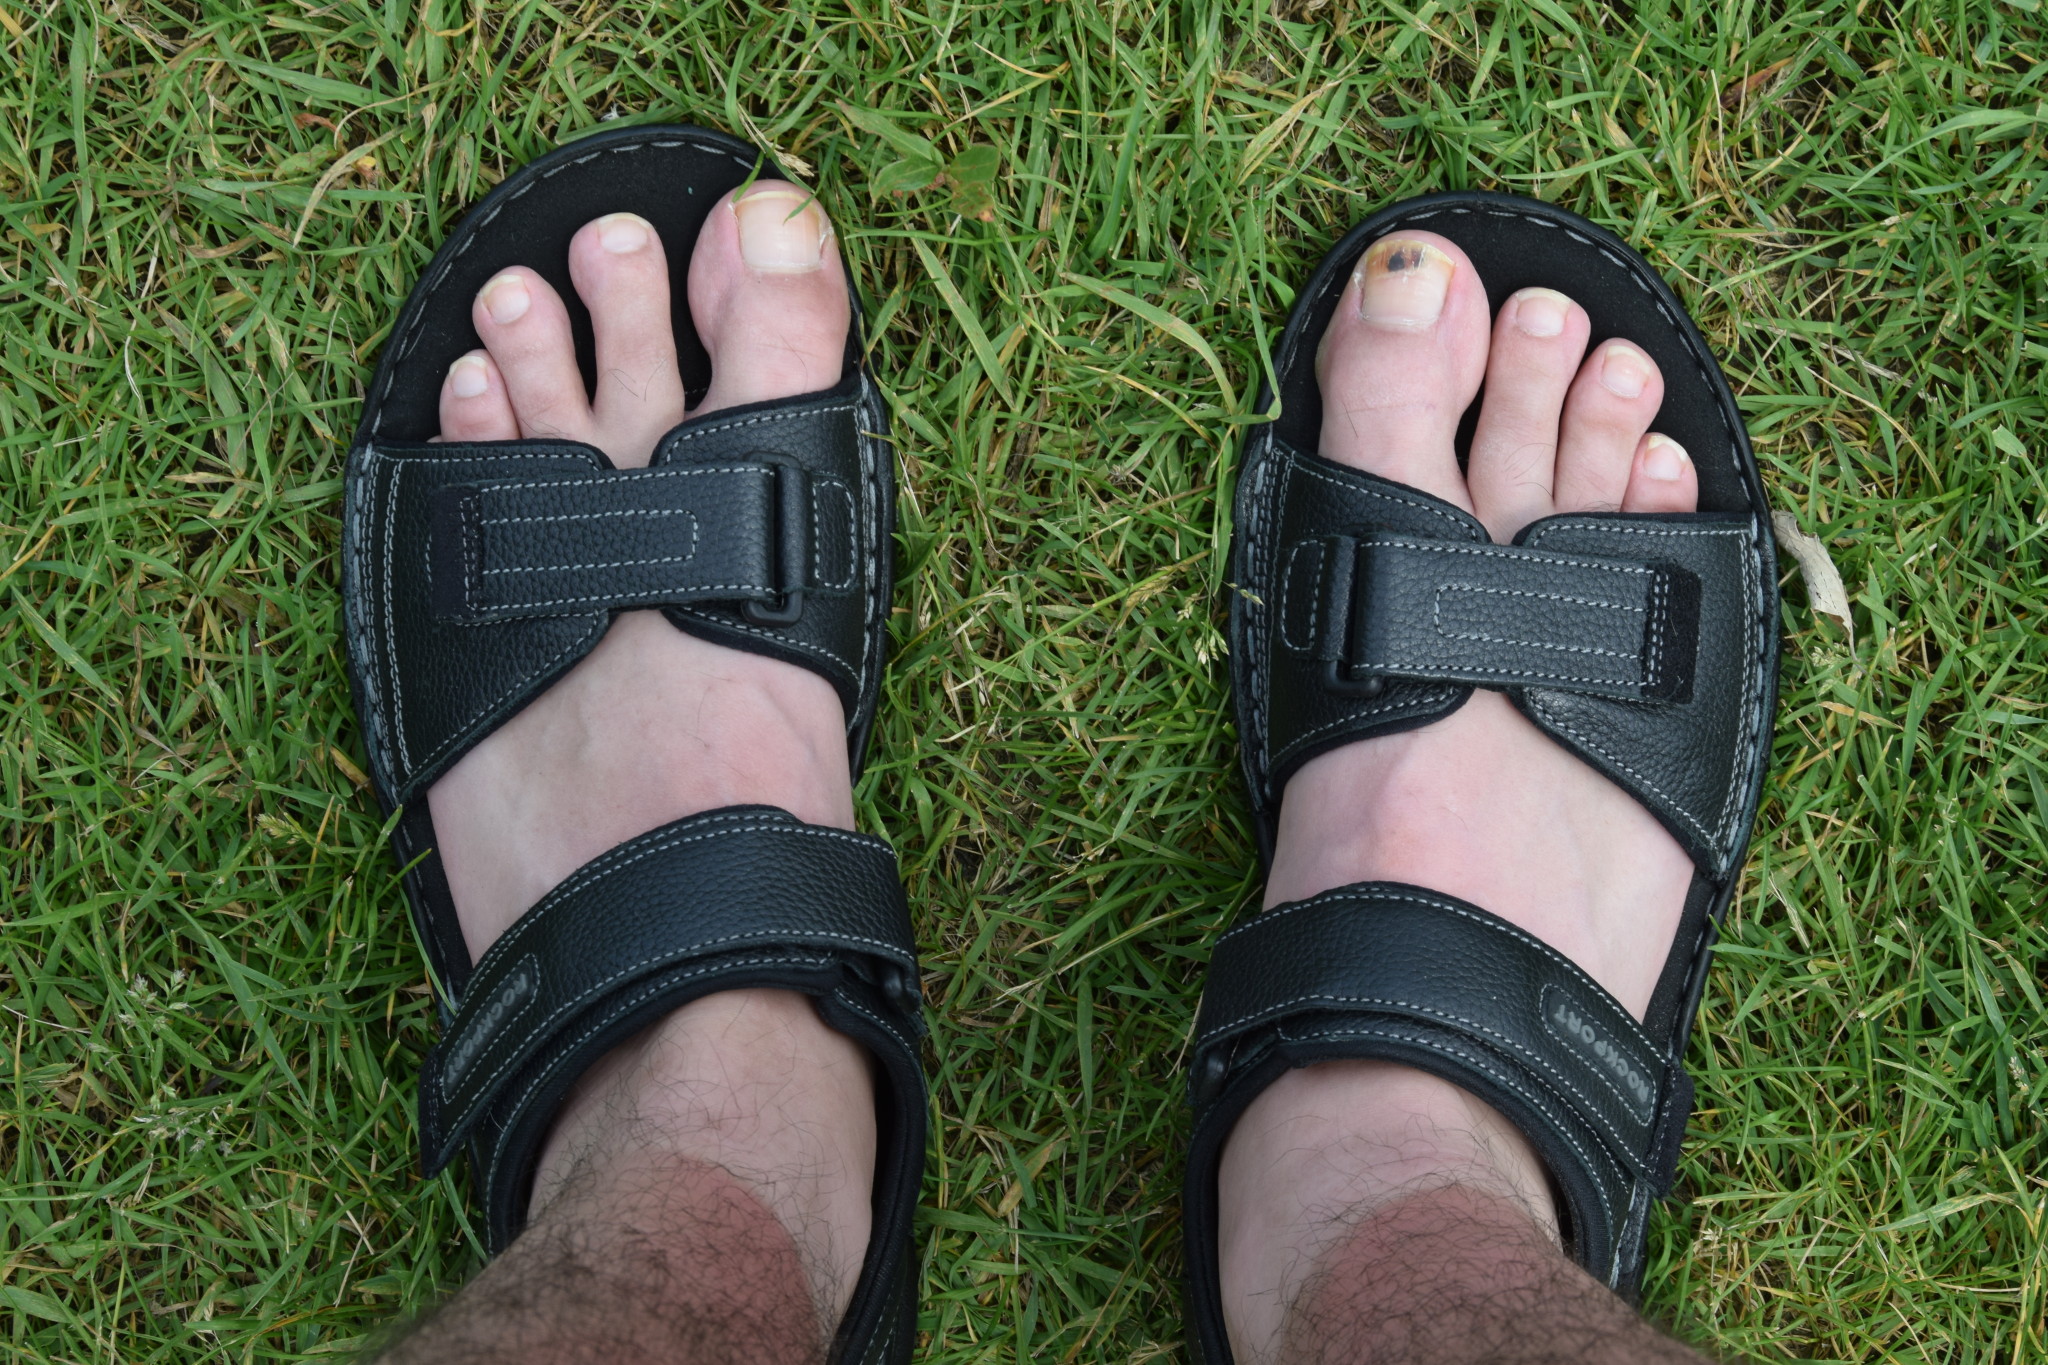

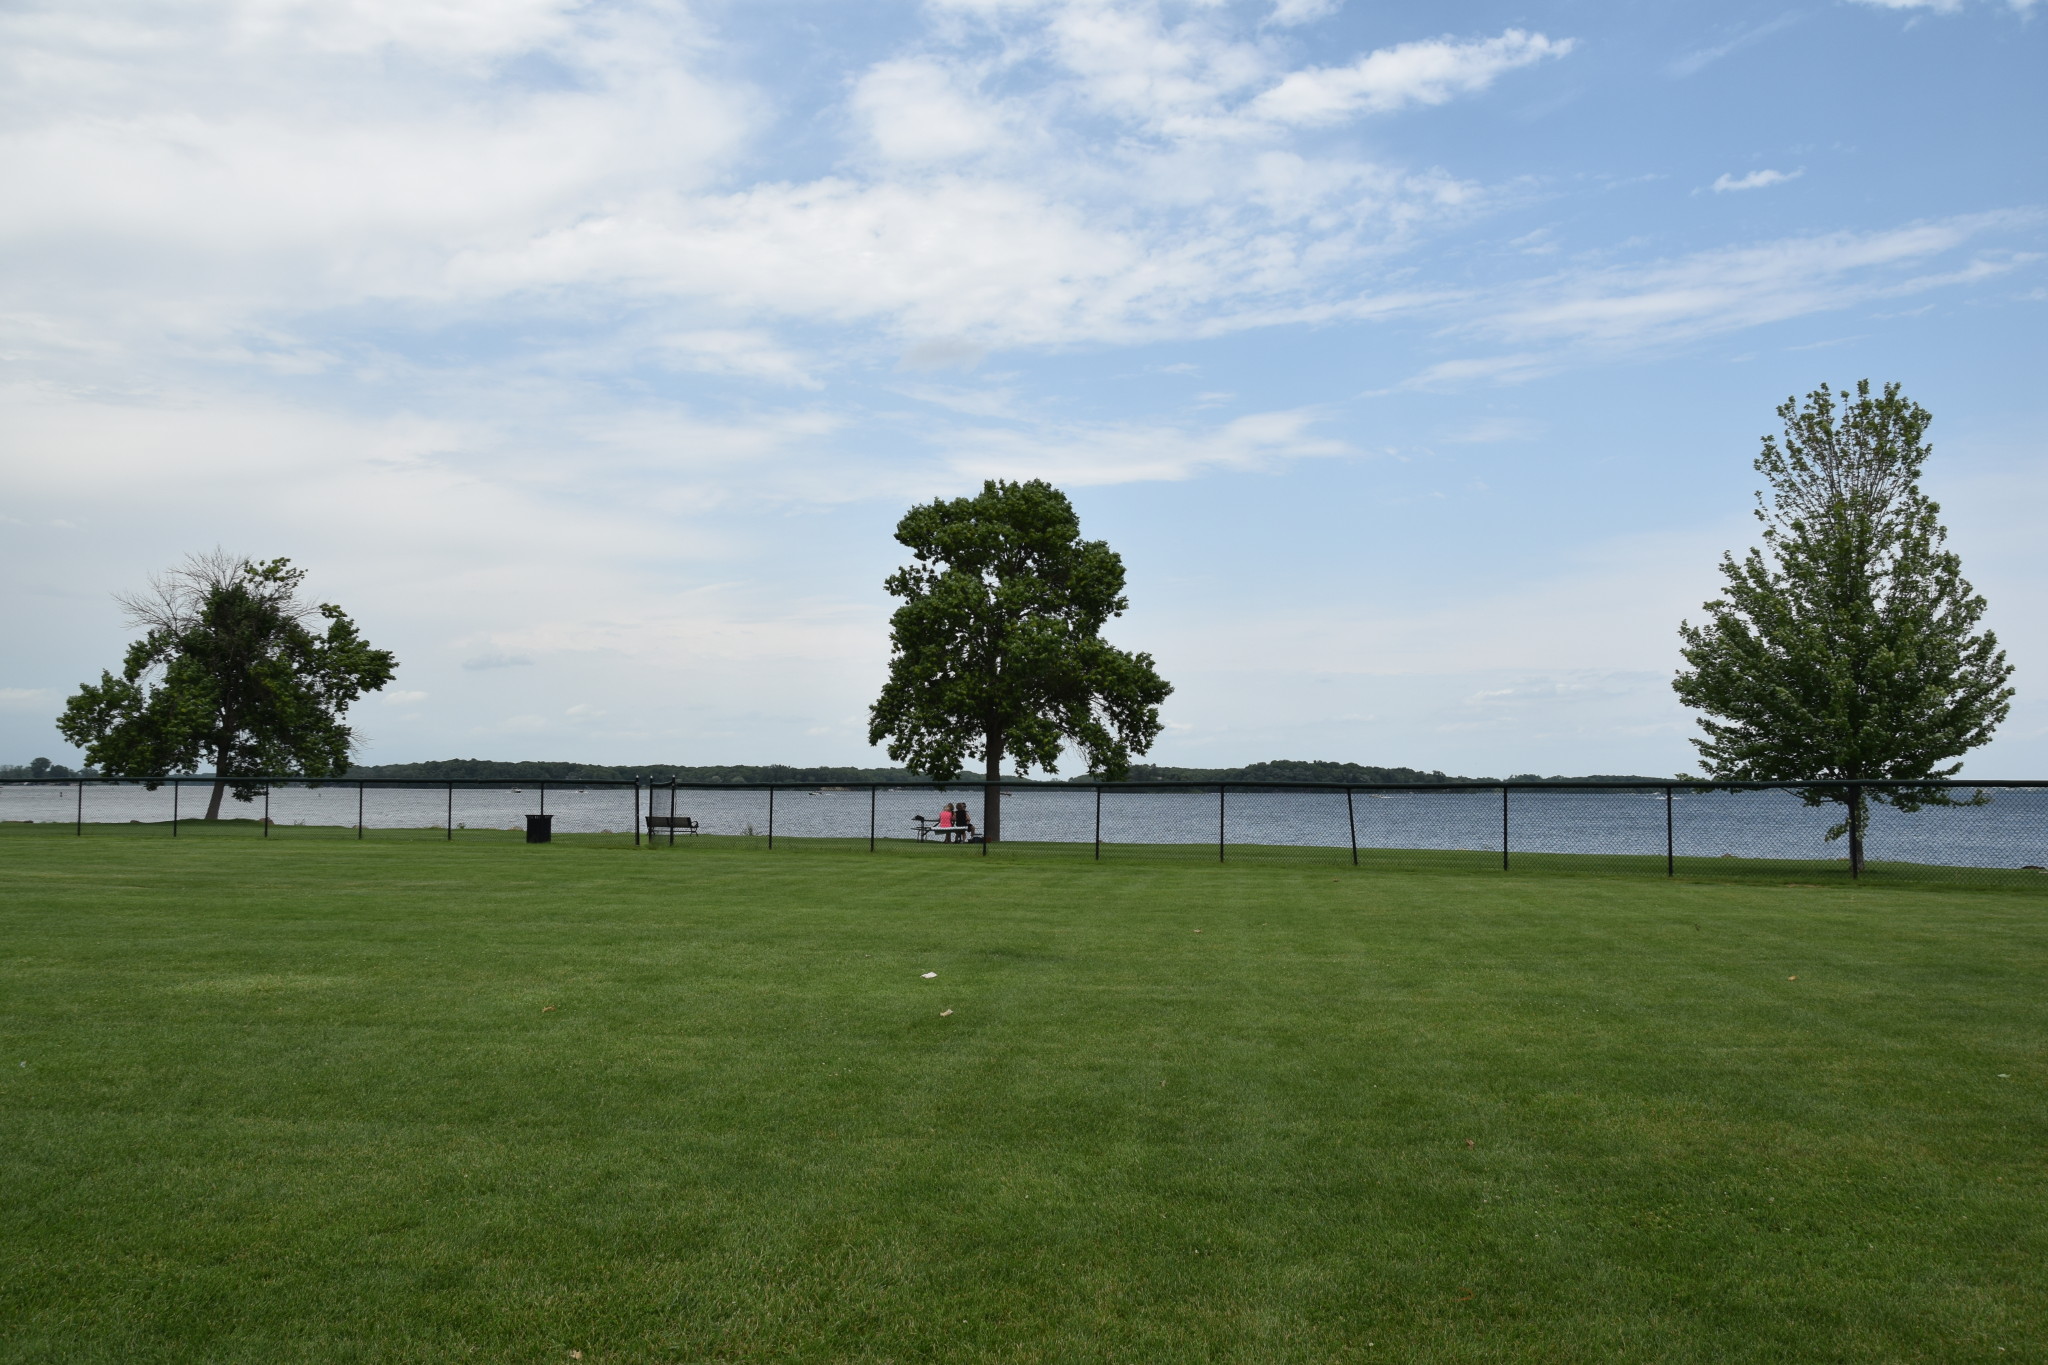
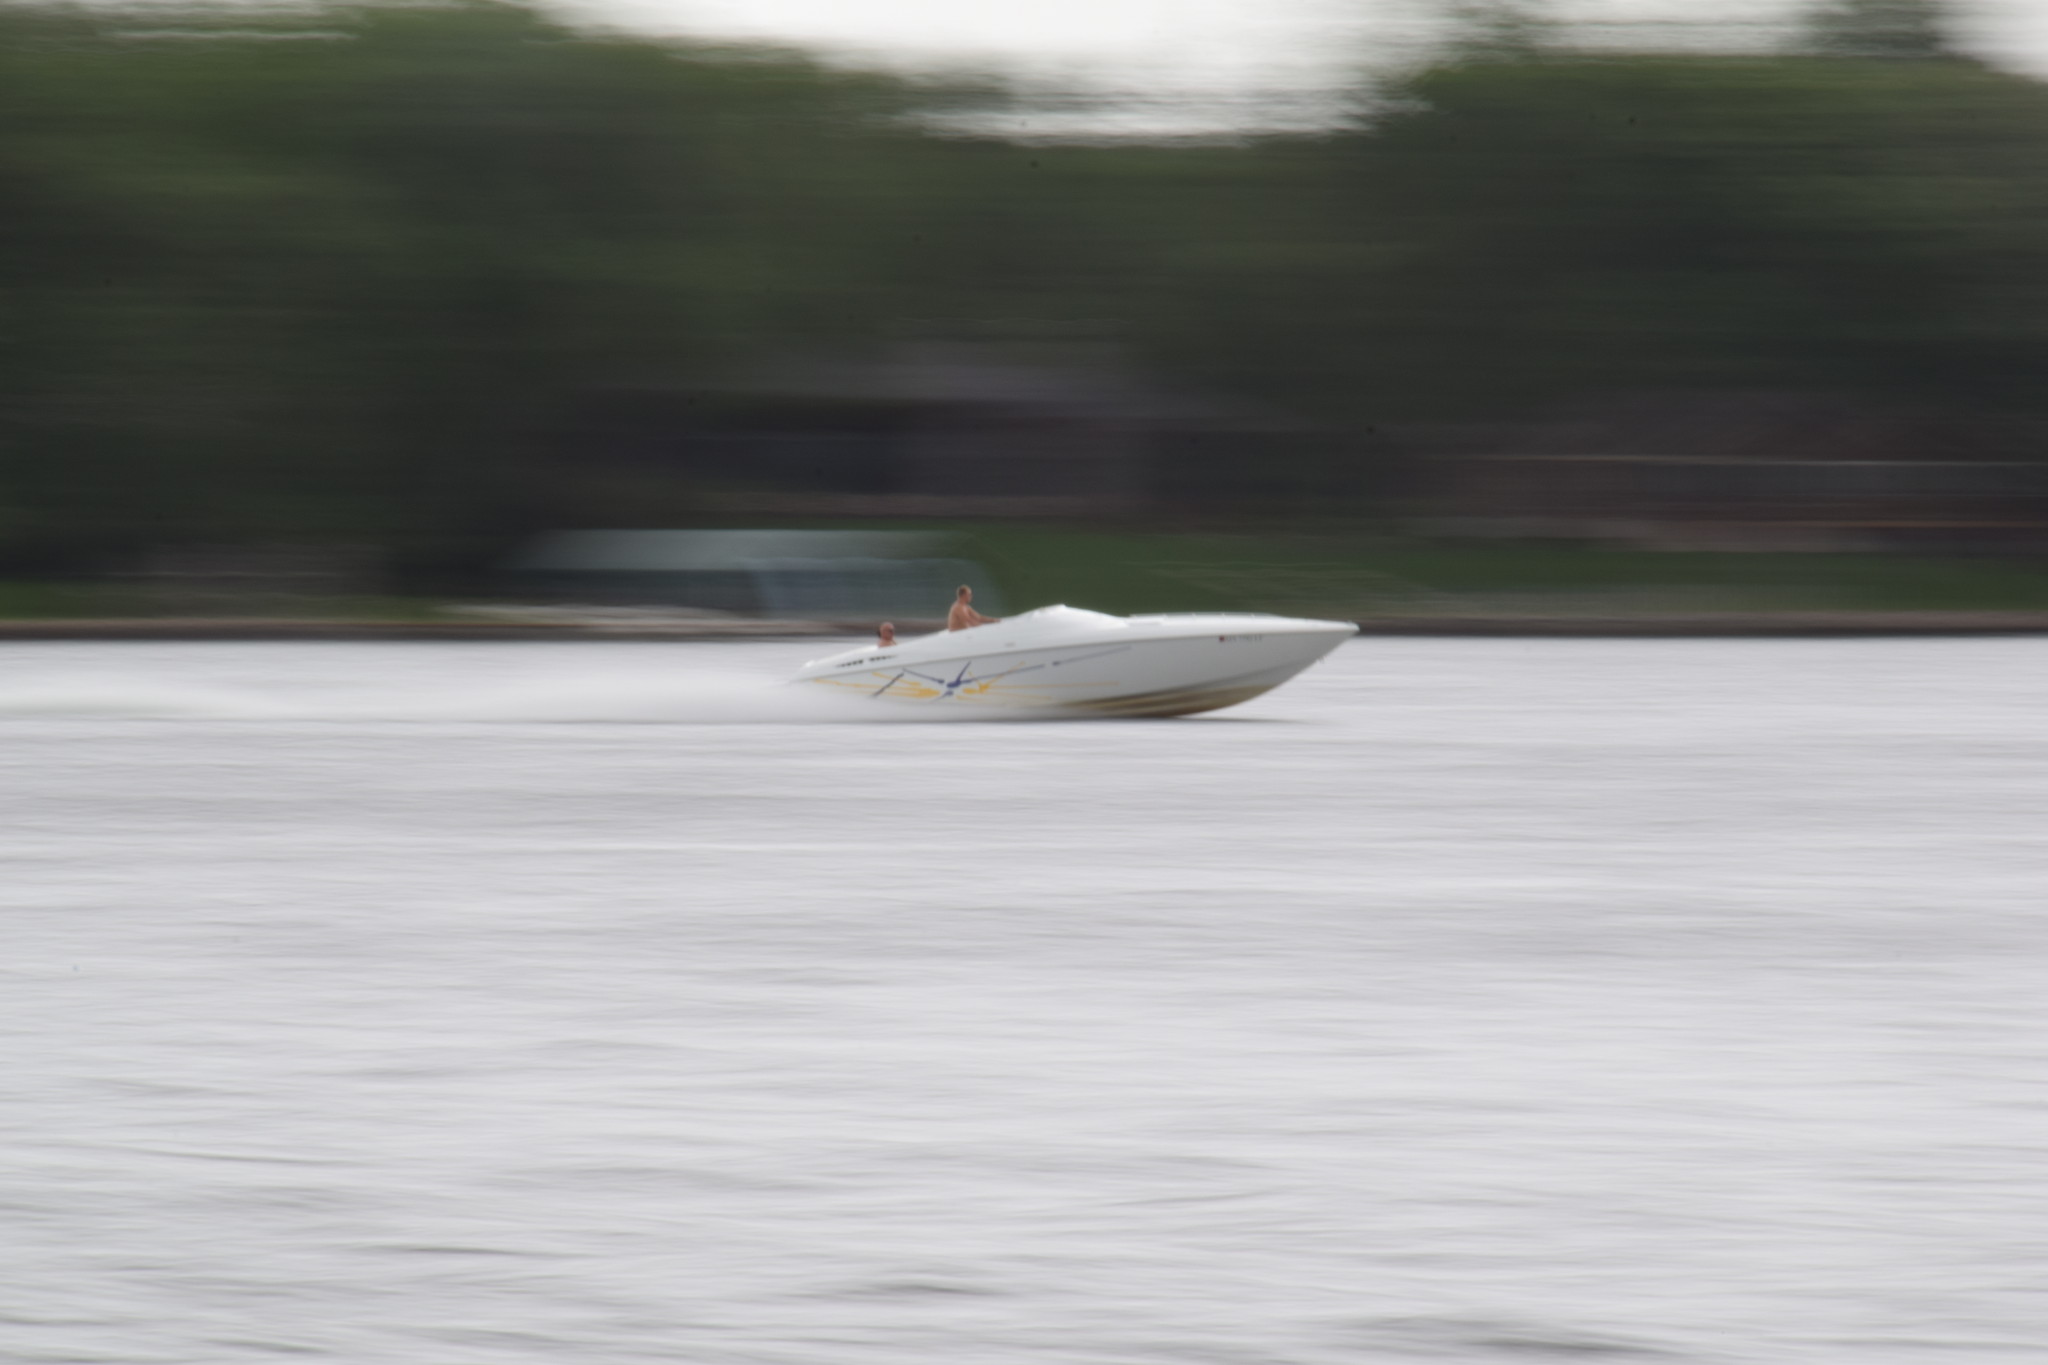
I used a Nikon 18-200mm VR lens for all the photos. All the photos were shot in Aperture Priority mode.
One final note: Even though I shot in JPEG, it’s still possible to edit RAW photos in Linux. I chose to shoot in JPEG for two reasons: (1) the files are compatible for storing and sending, and I won’t have to worry about future incompatibility; and (2) the files take up a fraction of the space.
Thanks for reading, and — again — welcome to LinuxPhoto!